
Automate Your Frame.io Workflows with Make
Make is a no-code automation platform that connects your apps and services. It uses a visual interface where you build workflows called scenarios by sequencing different modules.
Every scenario has a trigger (like “new project created in Frame.io”) and actions that follow (like “add a row to Google Sheets”). You connect these modules visually to define what happens and in what order.
Why Connect Frame.io to Make?
Make extends Frame.io across your entire workflow. Sync files to storage, update project management tools, generate reports, notify your team, or build custom workflows based on Frame.io activity. The more you connect Frame.io to your tech stack, the more powerful it becomes.
Common automations:
- Auto-create Frame.io projects when a client submits an intake form
- Post to Slack when comments are added to a video in Frame.io
- Update a Google Sheet when a new Frame.io project is created
- Upload final deliverables to Dropbox when marked as approved
- Create Asana tasks when new Frame.io projects are assigned to your team
These are just a few examples. For a full list of available Frame.io modules, check out this page on Make.com.
What You Need
- A Frame.io account (see subscription info here)
- A Make account (free tier available)
The next section covers Make basics. If you want to get straight to building, skip to the tutorial where we’ll connect your Frame.io account and build a scenario that logs new Frame.io projects to a Google Sheet.
Module Types
Make has four types of modules: triggers, searches, actions, and universal modules.
Triggers work by watching for changes in a service, and bringing them over to Make so you can use that data in your scenario. You can add one trigger module per scenario.
See the Trigger Types section below for details on polling vs. instant triggers.
- You can set how often a trigger module runs by clicking Schedule settings in the scenario toolbar
- Make highly recommends starting scenarios with a trigger module.
Search modules retrieve specific data from a service. You can add multiple search modules anywhere in your scenario. Most searches return up to 3,200 objects per run.
Types of search modules:
- Search modules let you filter and use queries to find specific data (Search Records, Search Rows, etc.)
- List modules retrieve all data without filtering. (List Projects, List Sheets, etc.)
Action modules process the data retrieved from a service. You can add as many actions as needed, anywhere in your scenario.
Types of actions:
- GET
- CREATE
- UPDATE
- DELETE
Universal modules (usually called Make an API Call) let you make custom API calls when Make doesn’t provide a pre-built module for what you need.
You can add as many Universal modules as needed and place them anywhere in your scenario.
Trigger Types
Make uses two types of triggers: polling and instant.
Polling triggers check your service account for new data on a schedule. They’re usually named things like “Watch Records” or “Watch Rows.” When the scenario runs, Make asks the service if anything’s new. If there is, the scenario processes it.
Instant triggers work differently. They use webhooks, so the service pings Make immediately when something happens. Your scenario runs right away. You can spot these by the lightning icon and “Instant” tag on the module.
Frame.io’s Watch Events module is an instant trigger, so the scenario we’re building later on will run in real time.
Make has more details on how different module types run in this section of their Help Center.
The Make Interface
Your Make dashboard shows all your scenarios. This is where you monitor active scenarios, scenario performance, and credit usage. Click Create scenario in the header to open the builder.
Adding Applications + Modules
To add modules to your scenario, click the plus button in the center of the builder. This opens a panel where you can search for the app you need, such as Frame.io or Google Sheets, then select the specific module you want (like “Watch Events” or “Add a Row”). Drag and drop modules in the builder to connect them and build your scenario.
Managing + Reconnecting Apps
The left sidebar gives you access to scenarios, connections, webhooks, and other Make features.
If you need to reconnect Frame.io or any other app, click Connections in the left sidebar. You’ll see all your connected apps with a Reauthorize button next to each one. Click it to go through the authentication flow again.
Testing
To test your scenario, click Run once in the toolbar. When the test completes, operation bubbles appear above each module showing how many operations ran. Click on a bubble to see the input and output data for that step.
Testing with existing data:
By default, triggers only process new events. To test with existing data, click the dropdown arrow next to the Run once button. This opens a dialog where you can rerun data from an earlier received webhook event.
Building Your First Scenario: Log New Projects to Google Sheets
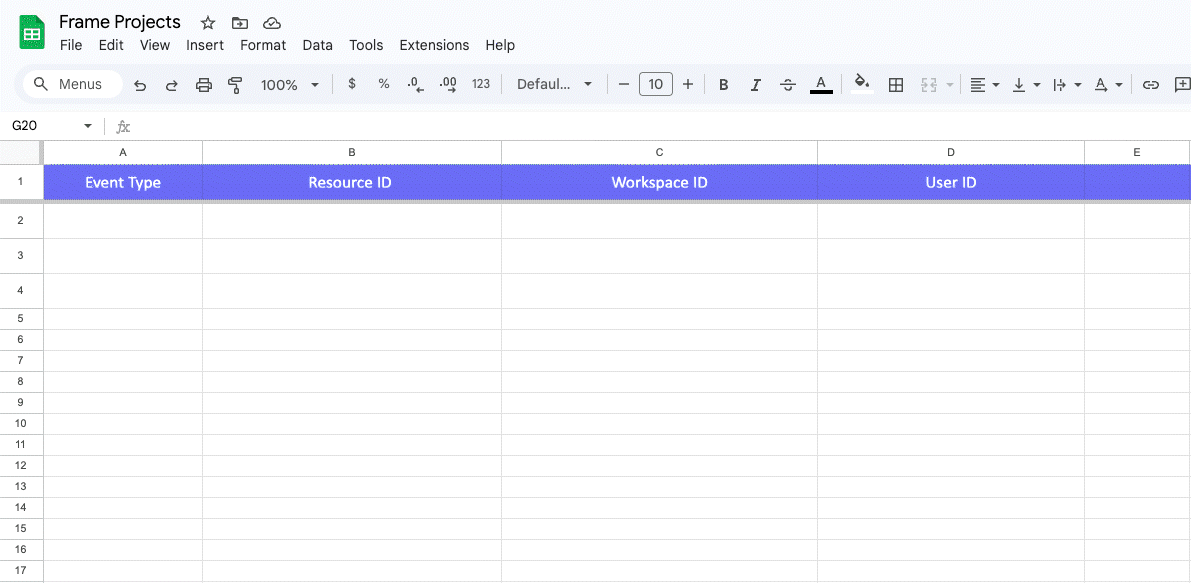
Before we start, create a Google Sheet with these column headers:
Event Type, Resource ID, Workspace ID, User ID. We’ll call the sheet “Frame Projects” in this example.
Connect to Frame.io + Add the Trigger
Click the plus sign in the Make builder to add a module. Search for “Frame.io” and select Watch Events. This creates a webhook that triggers when specific events happen in Frame.io.
Connecting Frame.io:
- Click Add next to the connection field
- Keep the default connection name or rename it
- You’ll be prompted to log in to your Adobe account and authorize Make
- Once connected, you’ll see all your available Frame.io accounts and workspaces in the drop downs
Configure the Webhook:
- Select your account and the workspace you want to watch. For this example, we’ll use “New Workspace”
- Under events, choose Project Created (For more info on available events see our webhook events docs)
- Name your webhook, save your changes
Add Google Sheets
Click the plus sign to add the next step. Search for and select the Google Sheets app, and click on the Add a Row module.
Connect Google Sheets:
- Click Add to create a new connection
- Click Sign in with Google and authorize Make to access your Google account
- Once connected, you should see your account’s sheets in the dropdowns
- Select the sheet/tab name (in our case, “Frame Projects”)
Map the data: Now map Frame.io data to your spreadsheet columns. Click into each field and select the corresponding data from the Frame.io trigger:
- Event Type → map to Frame.io Event Type
- Resource ID → map to Frame.io Resource
- Workspace ID → map to Frame.io Workspace ID
- User ID → map to Frame.io User ID
You just built your first automation. From here, you can add more steps to this scenario or build new ones using the other available Frame.io modules on Make.com
If you run into issues, have questions, or want to share what you built, check out the Community Forum.